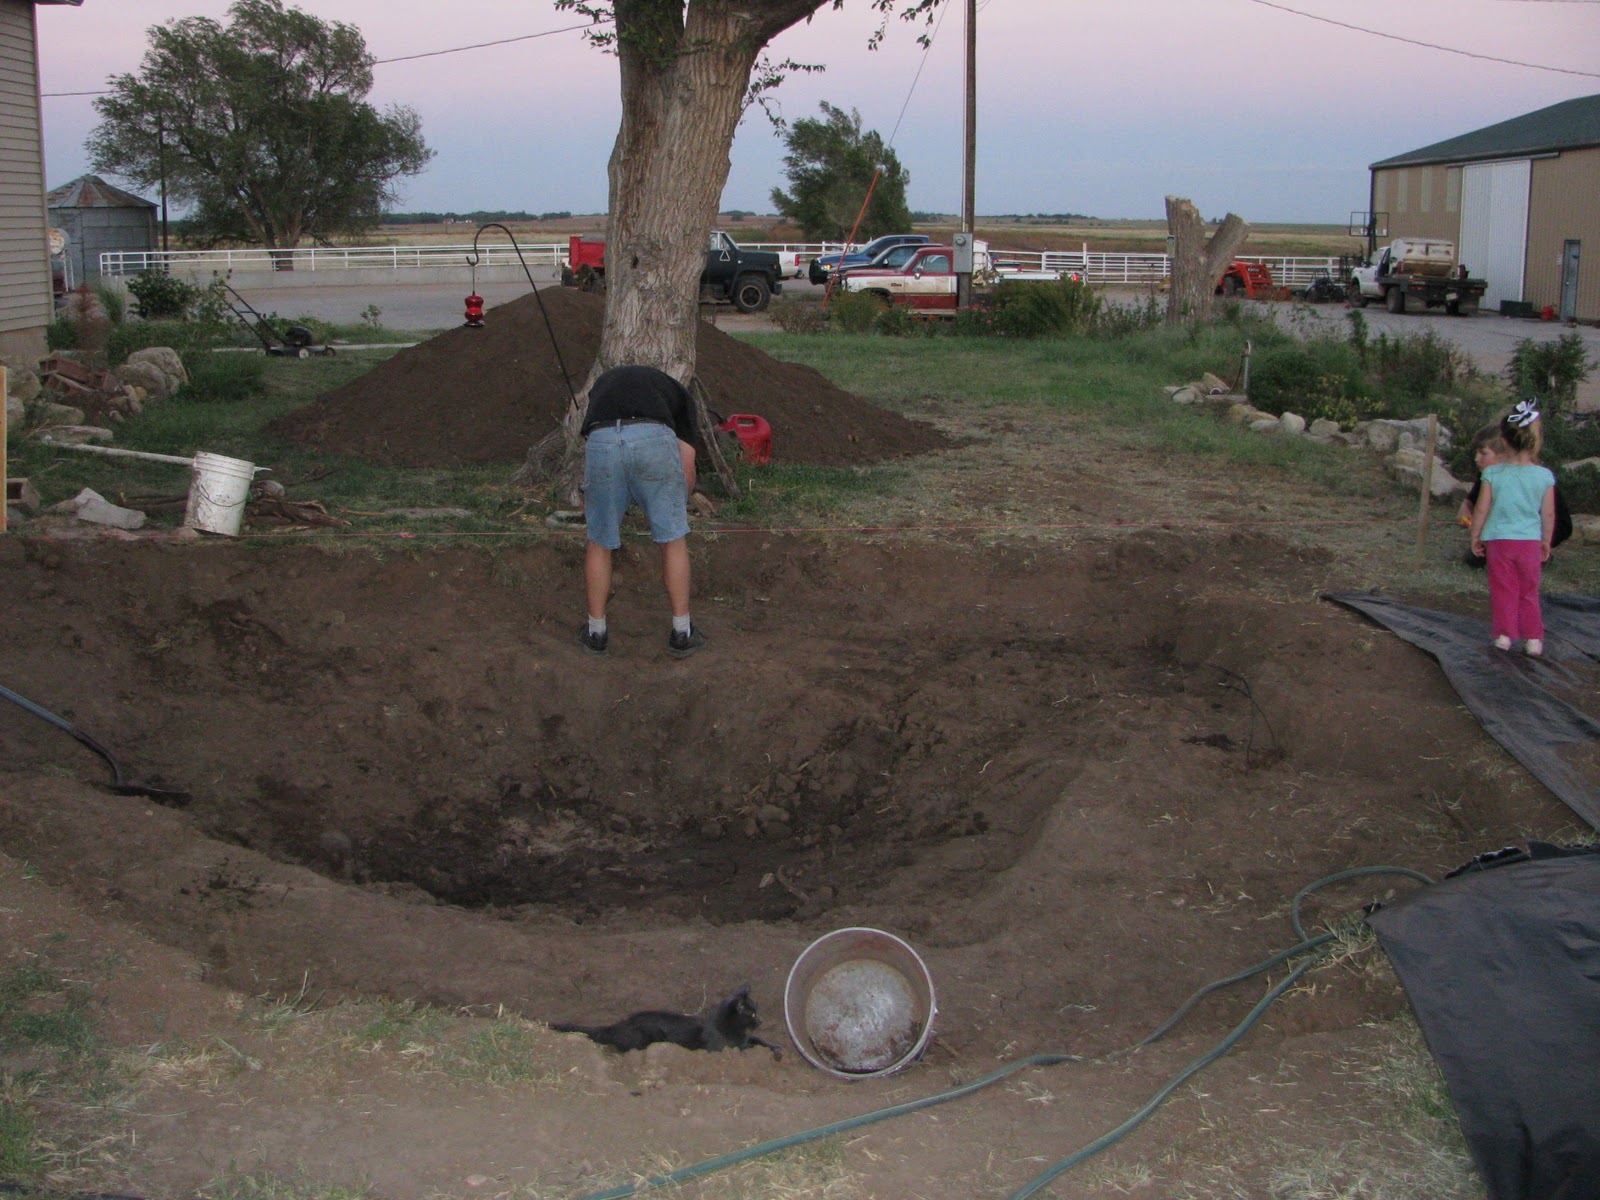
 The first thing after digging the hole, was to level the pond up. Since we were planning on doing some berming around the pond (or pushing up of the dirt for plantings), Jeremy took his pink string and tied one end to two sticks. He put a stick on each end of the pond and then used his level to adjust the string to where the dirt level needed to be backfilled.
 After that was in place, he used the little tractor to back fill dirt around the pond to the height it needed to be. This made the pond hole around 3 1/2-4 feet in the center, to ensure the pond water doesn't freeze completely, and 1-2 feet deep around the edges, before it gradually slopes down toward the bottom.

When the pond had been contoured and the dirtwork was done, it was time to set the skimmer box and filter falls. This little box will house the pump. The water gets slurped through the opening and is filtered as it runs toward and through the pump and into the tube on the left. The tube carries it about 25 feet up to the waterfall filter box. There it gets filtered a second time, and flows into a stream bed (which you will be able to see better later) and then back into the pond!

Both boxes should be easy to conceal with large flat pieces of limestone that I have already. Next came a HUGE pile of underlayment--which will keep tree roots and sharp rocks from coming through to the liner and the liner.

We used the tractor to haul the liner and underlayment out to the pond and then rolled the liner down into teh pond. It was REALLY heavy--and everyone had to help lay it down and unfold it!!

After that was down, the kids really enjoyed playing in there!!

Friday, we took off right after lunch and stopped in Wichita to buy rock. The limestone that we usually haul out here will adversely affect the water composition, and can be detrimental to fish (especially no bigger than our pond will be). This was a 2 ton pallet of creek stone. It is really smooth and a brownish/gray in color. Kansas Natural Stone in Wichita was really good to work with, and gave us some extra savings on our pallet. They sure had a "ton" of rock to check out before we could decide! (HAHA!)

We started unloading that rock onto the pond liner as soon as we got home Sunday afternoon. You can tell by the pictures, that it was getting dark as we finished.

We basically outlined the top edge of the pond with the rock. The water level will be about 1/2 way up on most of the rocks there. We also layed down a layer of stone to the edge of the biggest "shelf" (basically an area that will be conducive to putting water plants on) to keep the small rock from sifting to the bottom. We will then fill in with river rock onto the ledges and in the stream bed.

Here's a better picture of the waterfall filter box in the background and the outline of the streambed. We are still not sure how the logistics of the waterfall will actually work, but, no doubt, we will get it figured out eventually!
We have added water to the pond and have a few adjustments left to make before showing some final pictures. I have piles of limestone rocks everywhere!! It will take me some time to add those back around the perimeter and landscape it back in. Hopefully in the next few days, we will again enjoy the sound of running water!! If you live in the area, feel free to come out anytime and see our progress!!


Wow, that sounds like a lot of work. Can't wait to see the final product!!
ReplyDeleteKristi
WOW! Can't wait to come and see it!
ReplyDeleteThat is one heavy pond liner if it takes a tractor to move it! What a great project. I've heard limestone is not good for backyard ponds. Too alkaline I think for all those beautiful plants. You are really putting this together fast and your step by step journaling of it is nice. Keep us posted!
ReplyDeleteNo turning back now! Can't wait to see the finished product. Have fun.
ReplyDeletehttp://windowontheprairie.com/ Suzanne
wow! that is a big project. great to see the whole family pitching in. How nice. It should be beautiful when done, can't wait to see the end result!
ReplyDeleteLooking good! Looks like an awesome amount of work, though! But that will be SO NICE and relaxing to have that water to watch and listen to. :) Looking forward to seeing more pictures!
ReplyDeleteYou are going to LOVE that pond when it's donw! What a great family project. Tell me you were in that liner with the kids - that looks like so much fun! I would have found that hard to resist. ;)
ReplyDelete